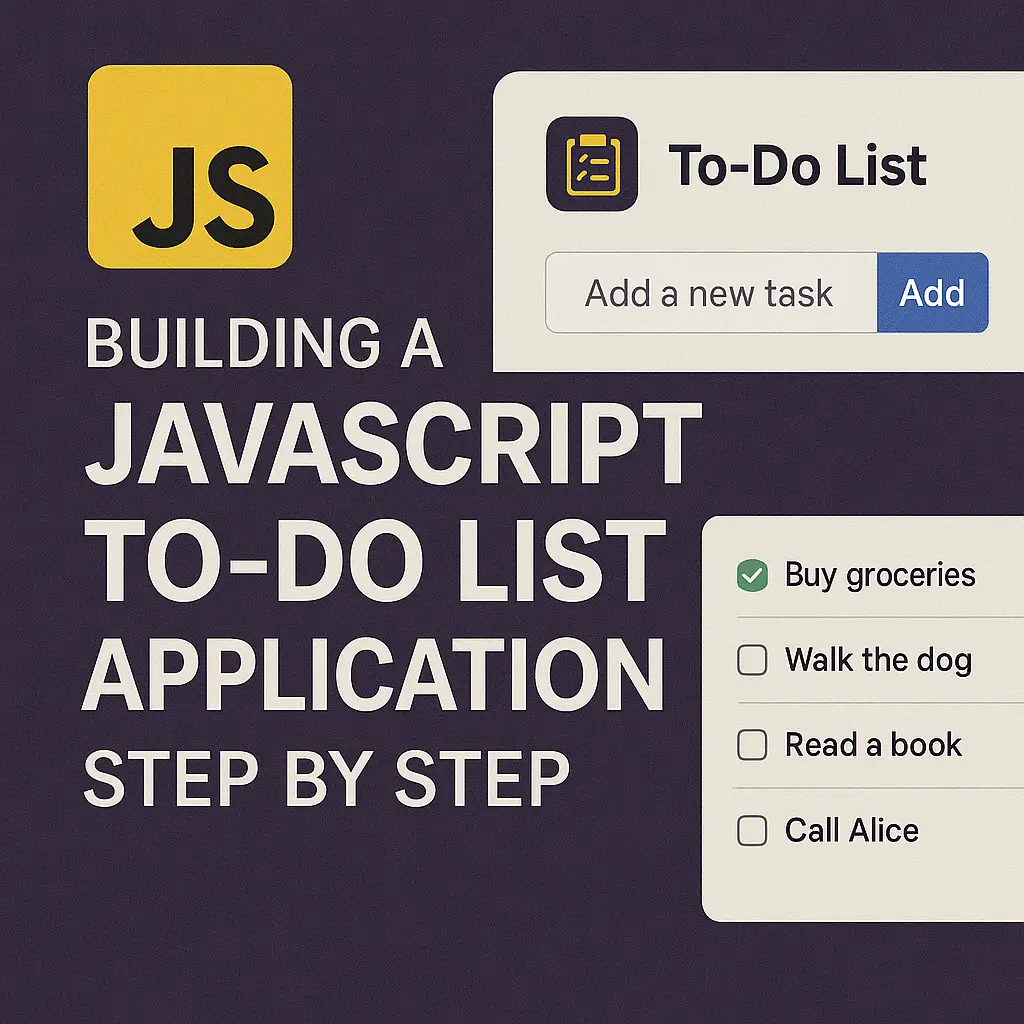
In this article, we’ll delve into the process of building a to-do list application using JavaScript, covering both the project overview and implementation details.
Project Overview
Before diving into the code, let’s outline the key features and functionality of our to-do list application:
User Interface:
We’ll create a clean and intuitive user interface where users can view their tasks, add new tasks, mark tasks as completed, and delete tasks.
Data Management:
To store the tasks, we’ll utilize local storage in the browser. This allows users to persist their tasks even after refreshing the page or closing the browser.
Dynamic Updates:
The application should dynamically update the UI when tasks are added, completed, or removed, providing a seamless user experience.
Implementation Details
Now, let’s break down the implementation process step by step:
HTML Structure
First, let’s create the basic HTML structure for our application. We’ll have an input field to add new tasks, a list to display existing tasks, and buttons for marking tasks as completed and deleting tasks.
					<!DOCTYPE html>
<html lang="en">
<head>
    <meta charset="UTF-8">
    <meta name="viewport" content="width=device-width, initial-scale=1.0">
    <title>To-Do List</title>
    <link rel="stylesheet" href="styles.css">
</head>
<body>
    <div class="container">
        <h1>To-Do List</h1>
        <input type="text" id="taskInput" placeholder="Add new task">
        <ul id="taskList"></ul>
        <button id="clearCompleted">Clear Completed</button>
    </div>
    <script src="script.js"></script>
<script>var rocket_lcp_data = {"ajax_url":"https:\/\/codersship.com\/wp-admin\/admin-ajax.php","nonce":"c23d142509","url":"https:\/\/codersship.com\/javascript\/building-to-list-application","is_mobile":false,"elements":"img, video, picture, p, main, div, li, svg","width_threshold":1600,"height_threshold":700,"debug":null}</script><script data-name="wpr-lcp-beacon" src='https://codersship.com/wp-content/plugins/wp-rocket/assets/js/lcp-beacon.min.js' async></script></body>
</html>
JavaScript Logic
Next, let’s add the JavaScript logic to handle user interactions and manage tasks.
					// Selecting DOM elements
const taskInput = document.getElementById('taskInput');
const taskList = document.getElementById('taskList');
const clearCompletedBtn = document.getElementById('clearCompleted');

// Function to add a new task
function addTask(taskText) {
    const taskItem = document.createElement('li');
    taskItem.innerHTML = `
        <input type="checkbox">
        <span>${taskText}</span>
        <button class="delete">Delete</button>
    `;
    taskList.appendChild(taskItem);
}

// Event listener for adding tasks
taskInput.addEventListener('keypress', function(event) {
    if (event.key === 'Enter' && taskInput.value.trim() !== '') {
        addTask(taskInput.value.trim());
        taskInput.value = '';
    }
});

// Event listener for marking tasks as completed
taskList.addEventListener('change', function(event) {
    if (event.target.type === 'checkbox') {
        const taskItem = event.target.parentElement;
        taskItem.classList.toggle('completed');
    }
});

// Event listener for deleting tasks
taskList.addEventListener('click', function(event) {
    if (event.target.classList.contains('delete')) {
        event.target.parentElement.remove();
    }
});

// Function to clear completed tasks
clearCompletedBtn.addEventListener('click', function() {
    const completedTasks = document.querySelectorAll('.completed');
    completedTasks.forEach(task => task.remove());
});
CSS Styling
Finally, let’s add some basic CSS styling to enhance the appearance of our to-do list application.
					body {
    font-family: Arial, sans-serif;
    background-color: #f8f9fa;
}

.container {
    max-width: 600px;
    margin: 50px auto;
    padding: 20px;
    background-color: #fff;
    border-radius: 8px;
    box-shadow: 0 2px 5px rgba(0, 0, 0, 0.1);
}

h1 {
    text-align: center;
    color: #333;
}

input[type="text"] {
    width: calc(100% - 20px);
    padding: 10px;
    margin-bottom: 10px;
    border: 1px solid #ccc;
    border-radius: 4px;
}

ul {
    list-style-type: none;
    padding: 0;
}

li {
    display: flex;
    align-items: center;
    padding: 10px;
    border-bottom: 1px solid #eee;
}

li.completed span {
    text-decoration: line-through;
    opacity: 0.5;
}

button {
    padding: 8px 12px;
    margin-left: auto;
    background-color: #dc3545;
    color: #fff;
    border: none;
    border-radius: 4px;
    cursor: pointer;
}

button:hover {
    background-color: #c82333;
}
Conclusion
Congratulations! You’ve successfully built a to-do list application using JavaScript. By following this guide, you’ve learned how to create a dynamic and interactive web application that helps users stay organized and productive. Feel free to further customize and enhance the application to suit your needs. Happy coding!


