If you’re ready to start coding in HTML, the first step is setting up a code editor—a tool that helps you write and manage your HTML files efficiently. Then, you’ll need to understand basic HTML syntax to create well-structured web pages.
In this guide, you’ll learn:
✔ How to choose and set up a code editor for HTML
✔ The essential HTML syntax rules every beginner should know
✔ How to write your first HTML file and test it in a browser
✔ Common mistakes to avoid when writing HTML
Let’s get started!
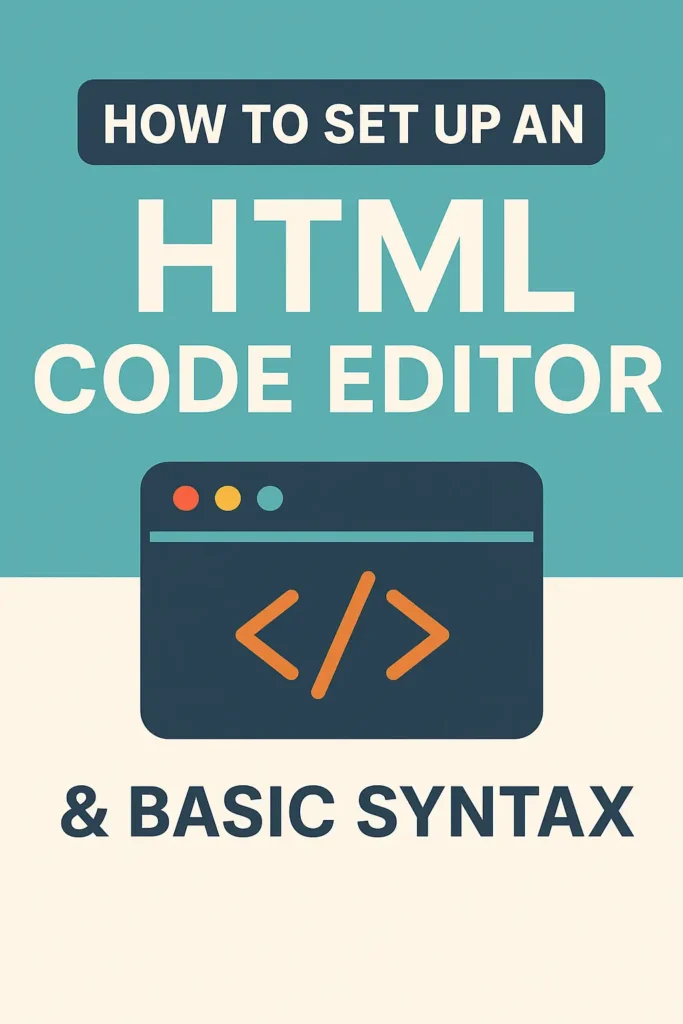
Step 1: Choosing an HTML Code Editor
A code editor is where you’ll write and edit your HTML files. While you can use Notepad or TextEdit, a dedicated editor offers helpful features like:
Syntax highlighting (colors for tags)
Auto-completion (suggests tags as you type)
Error detection (flags mistakes early)
File management (organizes projects efficiently)
Best Free Code Editors for HTML in 2024
| Editor | Best For | Download Link |
|---|---|---|
| VS Code | Beginners & professionals | Download Here |
| Sublime Text | Fast, lightweight coding | Download Here |
| Atom | Customizable & GitHub-friendly | Download Here |
| Notepad++ | Simple Windows-based editing | Download Here |
Recommended: VS Code (Visual Studio Code)
Free, powerful, and widely used.
Supports extensions (like Live Server for real-time previews).
Works on Windows, Mac, and Linux.
How to Install VS Code for HTML Development
Download & install from code.visualstudio.com.
Open VS Code and install these helpful extensions:
Live Server (auto-refreshes your page as you code)
Prettier (automatically formats your code)
HTML CSS Support (auto-completes tags)
Create a new folder for your project and open it in VS Code.
Step 2: Understanding Basic HTML Syntax
HTML follows a structured format using tags, elements, and attributes.
1. Basic HTML Document Structure
Every HTML file starts with:
					<!DOCTYPE html>
<html>
<head>
    <title>Page Title</title>
</head>
<body>
    <!-- Your content goes here -->
<script>var rocket_lcp_data = {"ajax_url":"https:\/\/codersship.com\/wp-admin\/admin-ajax.php","nonce":"28e4f0b196","url":"https:\/\/codersship.com\/html\/html-code-editor-basic-syntax","is_mobile":false,"elements":"img, video, picture, p, main, div, li, svg","width_threshold":1600,"height_threshold":700,"debug":null}</script><script data-name="wpr-lcp-beacon" src='https://codersship.com/wp-content/plugins/wp-rocket/assets/js/lcp-beacon.min.js' async></script></body>
</html>
<!DOCTYPE html>→ Declares HTML5 (the latest version).<html>→ Root element wrapping all content.<head>→ Contains meta-info (title, CSS/JS links).<body>→ Holds visible content (text, images, links).
2. Common HTML Tags & Their Uses
| Tag | Description | Example |
|---|---|---|
<h1> to <h6> | Headings (h1 = largest) | <h1>Main Heading</h1> |
<p> | Paragraph text | <p>This is a paragraph.</p> |
<a> | Hyperlink (anchor tag) | <a href="https://google.com">Google</a> |
<img> | Embeds an image | <img src="photo.jpg" alt="Description"> |
<ul>, <ol>, <li> | Lists (bullet & numbered) | <ul><li>Item 1</li></ul> |
<div> | Container for styling | <div>Content block</div> |
3. HTML Attributes (Extra Info Inside Tags)
Modify elements (e.g., links, images).
Written as
name="value".
Example:
<a href="https://example.com" target="_blank">Visit Example</a>
href→ Specifies the link URL.target="_blank"→ Opens link in a new tab.
Step 3: Writing & Testing Your First HTML File
1. Create a New HTML File
Open your code editor (e.g., VS Code).
Create a new file (
Ctrl + NorCmd + N).Save as
index.html.
2. Write Basic HTML Code
<a href="https://example.com" target="_blank">Visit Example</a>
3. Open It in a Browser
Right-click the file → Open with → Chrome/Firefox.
OR in VS Code:
Install Live Server extension.
Click Go Live (bottom-right corner) for auto-refresh.
Common HTML Mistakes to Avoid
❌ Missing closing tags → <p>Hello (should be <p>Hello</p>)
❌ Incorrect nesting → <p><strong>Text</p></strong> (should be <p><strong>Text</strong></p>)
❌ Using uppercase tags → <DIV> (HTML5 prefers lowercase: <div>)
❌ Forgetting alt in images → <img src="pic.jpg"> (should have alt="Description")
Next Steps: Practice & Expand Your Skills
✔ Try building a simple webpage (e.g., a personal bio).
✔ Experiment with different tags (<table>, <form>, <video>).
✔ Learn CSS to style your HTML.
✔ Explore JavaScript to add interactivity.
Final Thoughts
Setting up a code editor and learning basic HTML syntax is the foundation of web development. With tools like VS Code, writing HTML becomes faster and more efficient.
Recap:
Install VS Code (or another editor).
Learn core HTML tags & structure.
Write, save, and test your HTML files.
Avoid common syntax mistakes.
Ready to dive deeper? Check out our next guide: “Introduction to CSS: Styling Your HTML Pages.” 🎨