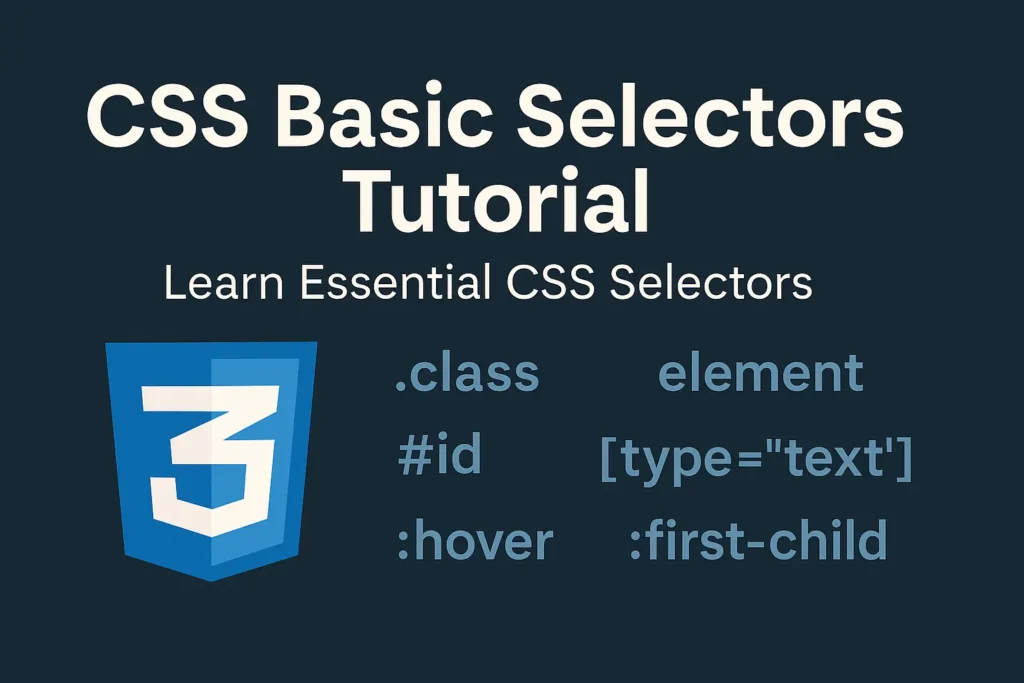
Among the fundamental building blocks of CSS are selectors, which allow developers to target specific elements and apply styles to them. In this article, we will delve into three basic types of selectors: Element selectors, Class selectors, and ID selectors, exploring their syntax, usage, and examples.
Element Selectors
Element selectors are the most basic type of selectors in CSS. They target HTML elements based on their tag names and apply styles to all instances of those elements within the document. For example, to style all <p> elements to have a red color, you would use the following CSS:
					p {
    color: red;
}
This rule applies the color: red; style to all <p> elements in the document, making their text appear in red.
Element selectors are straightforward and apply styles uniformly to all instances of the specified element type. However, they lack specificity, which means they may inadvertently affect other elements with the same tag name.
Class Selectors
Class selectors allow developers to apply styles to HTML elements based on the presence of a specific class attribute. Classes provide a way to categorize and group elements, allowing for more targeted styling. To create a class selector, prepend a dot (.) to the class name in CSS. For example, to style all elements with the class “highlight” to have a yellow background color, you would use the following CSS:
					.highlight {
    background-color: yellow;
}
To apply this style to an HTML element, add the “highlight” class to its class attribute:
<p class="highlight">This paragraph has a yellow background.</p>
Class selectors are versatile and can be applied to multiple elements throughout the document, providing a convenient way to style elements consistently.
ID Selectors
ID selectors are similar to class selectors but have higher specificity and should be used to uniquely identify individual elements within a document. To create an ID selector, prepend a hash (#) to the ID attribute value in CSS. For example, to style an element with the ID “header” to have a larger font size and bold text, you would use the following CSS:
					#header {
    font-size: 24px;
    font-weight: bold;
}
To apply this style to an HTML element, add the “header” ID to its id attribute:
<div id="header">This is a header.</div>
ID selectors should be used sparingly and reserved for elements that require unique styling or functionality. Unlike classes, IDs should only be applied to a single element within the document, as duplicate IDs can lead to unexpected behavior.
Combining Selectors
CSS selectors can be combined to create more specific and targeted styles. For example, you can combine an element selector with a class selector to style only <p> elements with a specific class:
					p.highlight {
    color: blue;
}
This rule applies the color: blue; style only to <p> elements with the “highlight” class.
Similarly, you can combine an element selector with an ID selector to target a specific element with a unique ID:
					div#sidebar {
    width: 200px;
}
This rule applies the width: 200px; style only to <div> elements with the “sidebar” ID.
Conclusion
Understanding and mastering CSS selectors is essential for effective web development. Element selectors provide a basic but powerful way to style HTML elements, while class and ID selectors offer more specificity and control. By leveraging these selectors effectively, developers can create visually stunning and responsive web pages with ease. Experimenting with different selector combinations and practicing their usage will help developers become more proficient in CSS styling, ultimately leading to better-designed and more user-friendly websites.


