In this guide, we’ll walk through three popular ways to set up a local WordPress site. Whether you’re a hands-on coder or someone who prefers a one-click solution, there’s a method here for you.
Why Go Local? The Unbeatable Benefits
Before we dive in, let’s solidify why this is such a game-changer:
No Risk: Test themes, plugins, and code updates without fearing the “White Screen of Death” on your live site.
Blazing Speed: Your site runs on your machine, so there’s no waiting for data to travel over the internet. Everything is instantaneous.
Work Offline: Build and write content on a plane, a train, or in a coffee shop with no Wi-Fi.
Cost-Effective: You don’t need to pay for hosting during the development phase.
Method 1: Using LocalWP (The Easiest & Most Beginner-Friendly)
LocalWP (formerly Local by Flywheel) is a tool built specifically for WordPress. It’s designed to make the process as simple as possible.
Step-by-Step Guide:
Download and Install: Go to localwp.com and download the free version for your operating system (Mac, Windows, or Linux). Install it like you would any other software.
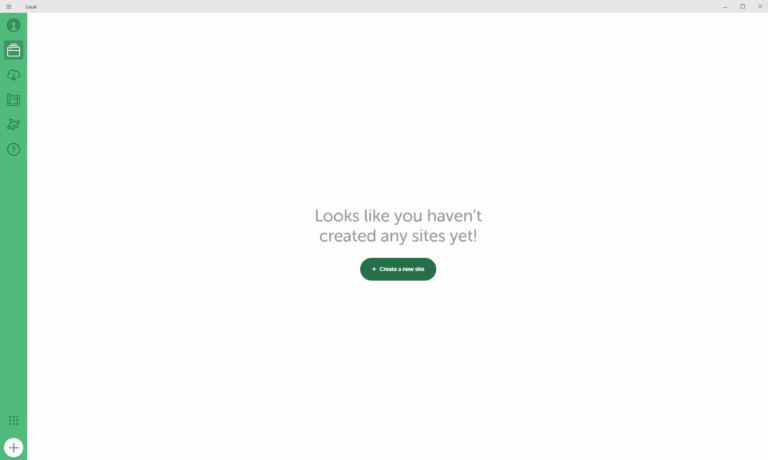
Create a New Site: Open Local and click the big “+” button to create a new site.
Give your site a name (e.g., “my-test-site”). This will be its local domain.
Choose your environment. For beginners, “Preferred” is perfect.
Set Username and Password: On the next screen, you’ll set the admin username, password, and email for your WordPress site. Remember these!
Let Local Work Its Magic: Click “Add Site.” Local will automatically download the necessary files, set up a web server, create a database, and install WordPress. It takes about a minute.
You’re Done! Once finished, click “Admin” to log into your new WordPress dashboard, or “View Site” to see your fresh local website.
✅ Best For: Beginners, designers, and anyone who wants a zero-hassle, one-click solution.
Method 2: Using XAMPP (The Classic, Hands-On Approach)
XAMPP is a free, all-in-one package that installs Apache (the web server), MySQL (the database), and PHP on your computer. It’s a bit more technical but gives you a deeper understanding of how the stack works.
Step-by-Step Guide:
Download and Install XAMPP: Go to apachefriends.org, download XAMPP for your OS, and run the installer. You can accept the default settings.
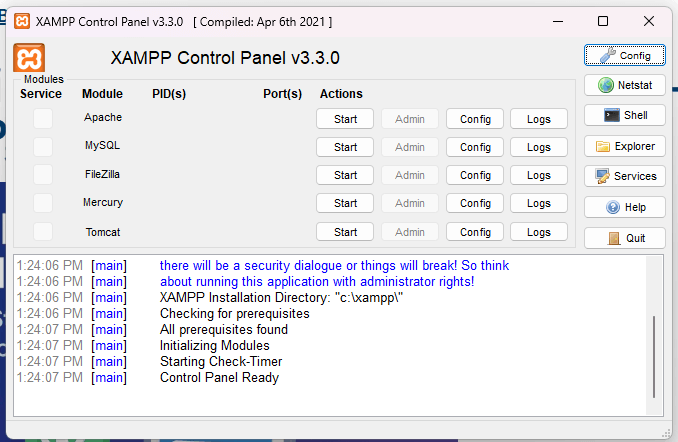
Start the Servers: Open the XAMPP Control Panel. Start the “Apache” and “MySQL” modules by clicking the “Start” button. You’ll know it’s working when the module labels turn green.
Download WordPress: Go to wordpress.org/download/, download the latest.zip file, and extract it. You’ll get a folder named
wordpress.Move the WordPress Folder: Take that
wordpressfolder and move it into thehtdocsfolder inside your XAMPP installation directory (typicallyC:\xampp\htdocs\on Windows or/Applications/XAMPP/htdocs/on Mac). You can rename the folder to your site’s name (e.g.,myproject).Create a Database:
In your web browser, go to
http://localhost/phpmyadmin.Click on “Databases” at the top.
Create a database named
myproject(or whatever you like) and click “Create.”
Run the WordPress Installation:
Now, go to
http://localhost/myprojectin your browser.You’ll see the famous WordPress installation screen. Select your language and continue.
On the “Database Connection” screen, enter:
Database Name:
myproject(the one you just created)Username:
rootPassword: (Leave this blank)
Database Host:
localhostTable Prefix:
wp_(you can leave this as is)
Click “Submit” and then “Run the installation.”
Finalize Setup: Fill in your Site Title, admin username, password, and email. Click “Install WordPress.” That’s it!
✅ Best For: Students and developers who want to understand the underlying server components.
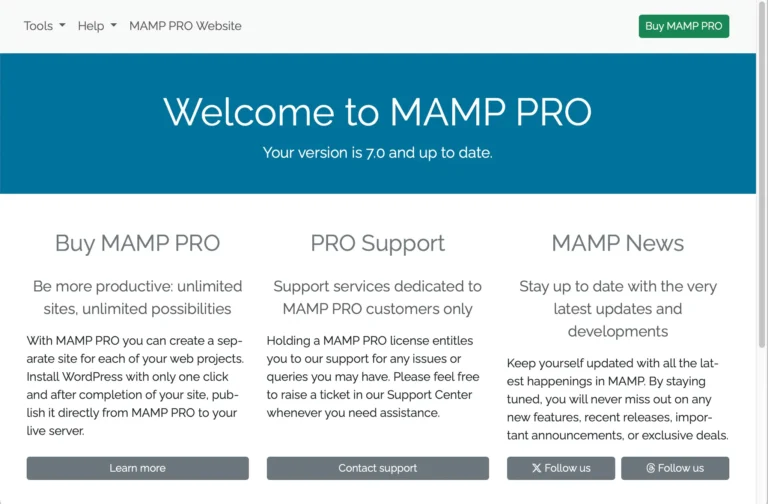
Method 3: Using MAMP (The Mac User’s Favorite)
MAMP is very similar to XAMPP but is often preferred by Mac users for its seamless integration with macOS.
Step-by-Step Guide:
Download and Install MAMP: Go to mamp.info and download the free version of MAMP. Drag and drop it into your Applications folder.
Start Servers: Open MAMP and click the big “Start” button. This will launch the Apache and MySQL servers.
Access the Root Folder: Click “Open WebStart page” in MAMP, or go to
http://localhost:8888/MAMP/. From here, you can find a link to your document root (usually/Applications/MAMP/htdocs/).Install WordPress: Just like with XAMPP, download WordPress, extract the folder, and place it inside the
htdocsfolder. Rename the folder to your project’s name.Create a Database: In the MAMP WebStart page, click on “phpMyAdmin.” Create a new database for your WordPress project.
Complete the Installation: In your browser, go to
http://localhost:8888/yourprojectnameand follow the standard WordPress installation steps, using the database name you created. The username will berootand the passwordroot.
✅ Best For: Mac users who want a robust and reliable local server environment.
Quick Comparison: Which Tool Should You Choose?
| Tool | Best For | Pros | Cons |
|---|---|---|---|
| LocalWP | Beginners, Designers | Easiest setup, beautiful interface, built-in tools | Less visibility into the server components |
| XAMPP | Students, Developers | Cross-platform, teaches you the full stack, highly configurable | Slightly more complex initial setup |
| MAMP | Mac Users | Excellent macOS integration, very stable | The free version is less feature-rich than others |
Your Local Workshop is Open!
No matter which method you choose, you’ve just unlocked a superpower. You now have a safe, fast, and free environment to learn WordPress, test ideas, and build amazing things.