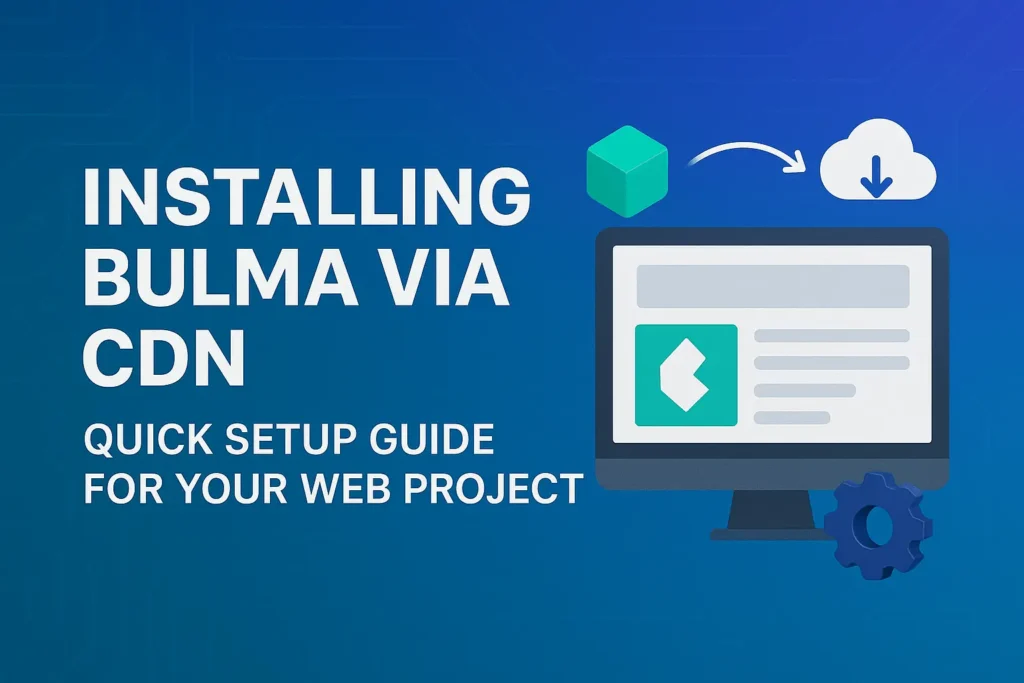
So, you’ve heard about Bulma and you’re ready to take it for a spin. Excellent choice! The quickest way to get this modern CSS framework up and running in your project is by using a CDN (Content Delivery Network).
Think of a CDN as a public library for code. Instead of downloading and managing the Bulma files on your own server, you can just link to a copy hosted on a fast, global network. It’s perfect for prototyping, learning, or even for smaller production projects.
Let’s walk through the simple steps to inject Bulma’s power into your HTML in under five minutes.
What You’ll Need Before You Start
Honestly, not much. Just a basic understanding of HTML and a text editor. You can use anything from Visual Studio Code to Notepad++. I’ll be using a simple, clean HTML5 boilerplate as our starting point.
Step 1: Create Your Basic HTML File
First, create a new file in your code editor and name it index.html. Paste in the standard HTML5 structure like the one below.
					<!DOCTYPE html>
<html lang="en">
<head>
    <meta charset="UTF-8">
    <meta name="viewport" content="width=device-width, initial-scale=1.0">
    <title>My First Bulma Project</title>
</head>
<body>
    <h1>Hello, World!</h1>
    <p>This is plain, unstyled HTML. Let's change that.</p>
<script>var rocket_lcp_data = {"ajax_url":"https:\/\/codersship.com\/wp-admin\/admin-ajax.php","nonce":"28e4f0b196","url":"https:\/\/codersship.com\/bulma\/installing-via-cdn","is_mobile":false,"elements":"img, video, picture, p, main, div, li, svg","width_threshold":1600,"height_threshold":700,"debug":null}</script><script data-name="wpr-lcp-beacon" src='https://codersship.com/wp-content/plugins/wp-rocket/assets/js/lcp-beacon.min.js' async></script></body>
</html>
If you open this file in your browser, you’ll see the classic, default browser styling. It’s functional, but it’s not exactly exciting.

Step 2: The Magic Step – Link the Bulma CSS CDN
This is where the transformation happens. Inside the <head> section of your HTML, you need to add the link to the Bulma stylesheet.
The best place to get the most up-to-date CDN link is from the official Bulma documentation. But as of now, you can use the link from the jsDelivr network.
Add this line right before the closing </head> tag:
<link data-minify="1" rel="stylesheet" href="https://codersship.com/wp-content/cache/min/1/npm/bulma@1.0.0/css/bulma.min.css?ver=1767430493">
Your complete <head> section should now look like this:
					<head>
    <meta charset="UTF-8">
    <meta name="viewport" content="width=device-width, initial-scale=1.0">
    <title>My First Bulma Project</title>
    <!-- Bulma CSS CDN -->
    <link data-minify="1" rel="stylesheet" href="https://codersship.com/wp-content/cache/min/1/npm/bulma@1.0.0/css/bulma.min.css?ver=1767430493">
</head>
And that’s it. Seriously. You’ve just installed Bulma. Save your index.html file.
Step 3: See the Difference – Test with Bulma Classes
Now, let’s prove it’s working. Bulma doesn’t automatically style everything; it styles elements that use its specific classes. Let’s turn our boring paragraph into a stylish button.
Change the content inside your <body> tags to this:
					<body>
    <section class="section">
        <div class="container">
            <h1 class="title">Hello, Bulma!</h1>
            <p>This is still a plain paragraph.</p>
            <button class="button is-primary">But this is a Primary Button!</button>
        </div>
    </section>
<script>var rocket_lcp_data = {"ajax_url":"https:\/\/codersship.com\/wp-admin\/admin-ajax.php","nonce":"28e4f0b196","url":"https:\/\/codersship.com\/bulma\/installing-via-cdn","is_mobile":false,"elements":"img, video, picture, p, main, div, li, svg","width_threshold":1600,"height_threshold":700,"debug":null}</script><script data-name="wpr-lcp-beacon" src='https://codersship.com/wp-content/plugins/wp-rocket/assets/js/lcp-beacon.min.js' async></script></body>
Save the file and refresh your browser.
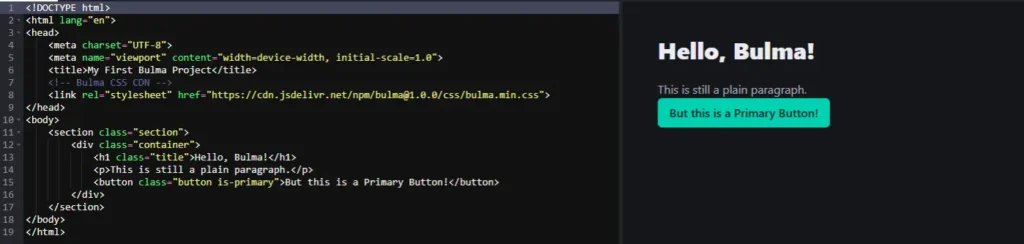
Notice the classes like section, container, title, button, and is-primary. These are all part of Bulma’s syntax. Just by adding class="button is-primary", you’ve created a fully styled, responsive button.
A Quick Note on section and container
You might be wondering what those other classes do. This is a classic Bulma pattern:
.sectionadds a comfortable block of padding around your content..containercenters your content and adds a bit of max-width for a clean, readable layout on large screens.
They work together to give you a great foundational layout with almost zero effort.
Pros and Cons of the CDN Method
While the CDN method is fantastic for speed, it’s good to know the trade-offs.
Pros:
Super Fast Setup: You’re ready in one line of code.
No Build Process: No need for NPM, Webpack, or SASS compilation.
Great for Learning: Perfect for tutorials and quick experiments.
Cons:
No Customization: You can’t easily change Bulma’s default variables (like the primary color or font) without using the SASS version.
Relies on a 3rd Party: Your site depends on the CDN being online (though this is very reliable).
You’re All Set!
Congratulations! You’ve successfully set up Bulma in your project. The framework is now ready and waiting. The next step is to dive into the Bulma Documentation and start exploring the incredible variety of components and layouts at your fingertips.